 I've gotten a few questions on how I made the embroidered baby t-shirts so I figured I'd create a tutorial to help out.
- First I buy either some onesies or t-shirts but really any baby clothing would work (this also works for adult clothing)
- I wash the clothing in order to preshrink it.
- I iron-on a design I would like to use. You can find iron-ons in many places like here, you could also create your own by printing out a pattern and using iron-on pens and trace it to create an iron-on pattern. Here is a list of free pattern links. There are other methods of transferring patterns, like tracing the pattern using a light-box or window and a pencil, or other fabric marking tool.
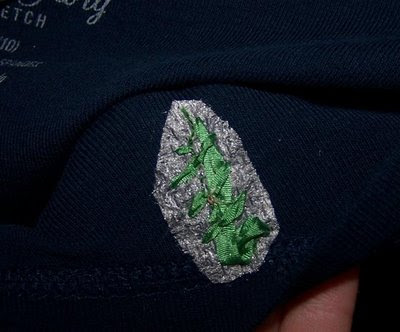
- If the fabric to be embroidered is stretchy I cut a piece of Cut-Away Interfacing to cover the area to be embroidered and baste around the edges to hold it in place. If it is a non-stretch fabric I skip this step.

- Next I use a small hoop and DMC floss (you could use Perle cotton as well, or any color-safe thread) and embroider the design in any way that I think would look nice. Here is a link to a free embroidery stitch library, and Here is a link to a free embroidery video library. Here is a list of my favorite embroidery books. I prefer to use a knot in my work but some don't think it is the "correct" thing to do. Do what you would like or think is best, I enjoy using the Quilters knot because it's nice and neat and can be as big or small as you prefer. I've never had a problem with knots being scratchy.
- After the embroidery is finished, I cut and remove the basting and then trim the cut-away interfacing near the embroidery.
- Last I wash and dry the item and sometimes if needed I'll iron the back with the front face down on a towel.
.jpg)


.jpg)
1 comment:
This is a great tutorial! You answered most of my questions! Now I just need to get some onsies :) But first - I'm off to explore the rest of your blog! Thanks for the post!
Post a Comment